#
Skin to Ski: Single Rips
At the top of each climb, a skimo racer must switch from uphill skinning to downhill skiing and do it in less than 30 seconds to be competitive.
#
How to do a skin-to-ski transition
The following method is one of many. Different body mechanics and levels of flexibility may require some adjustments. Practice it a lot, and then make it your own.
#
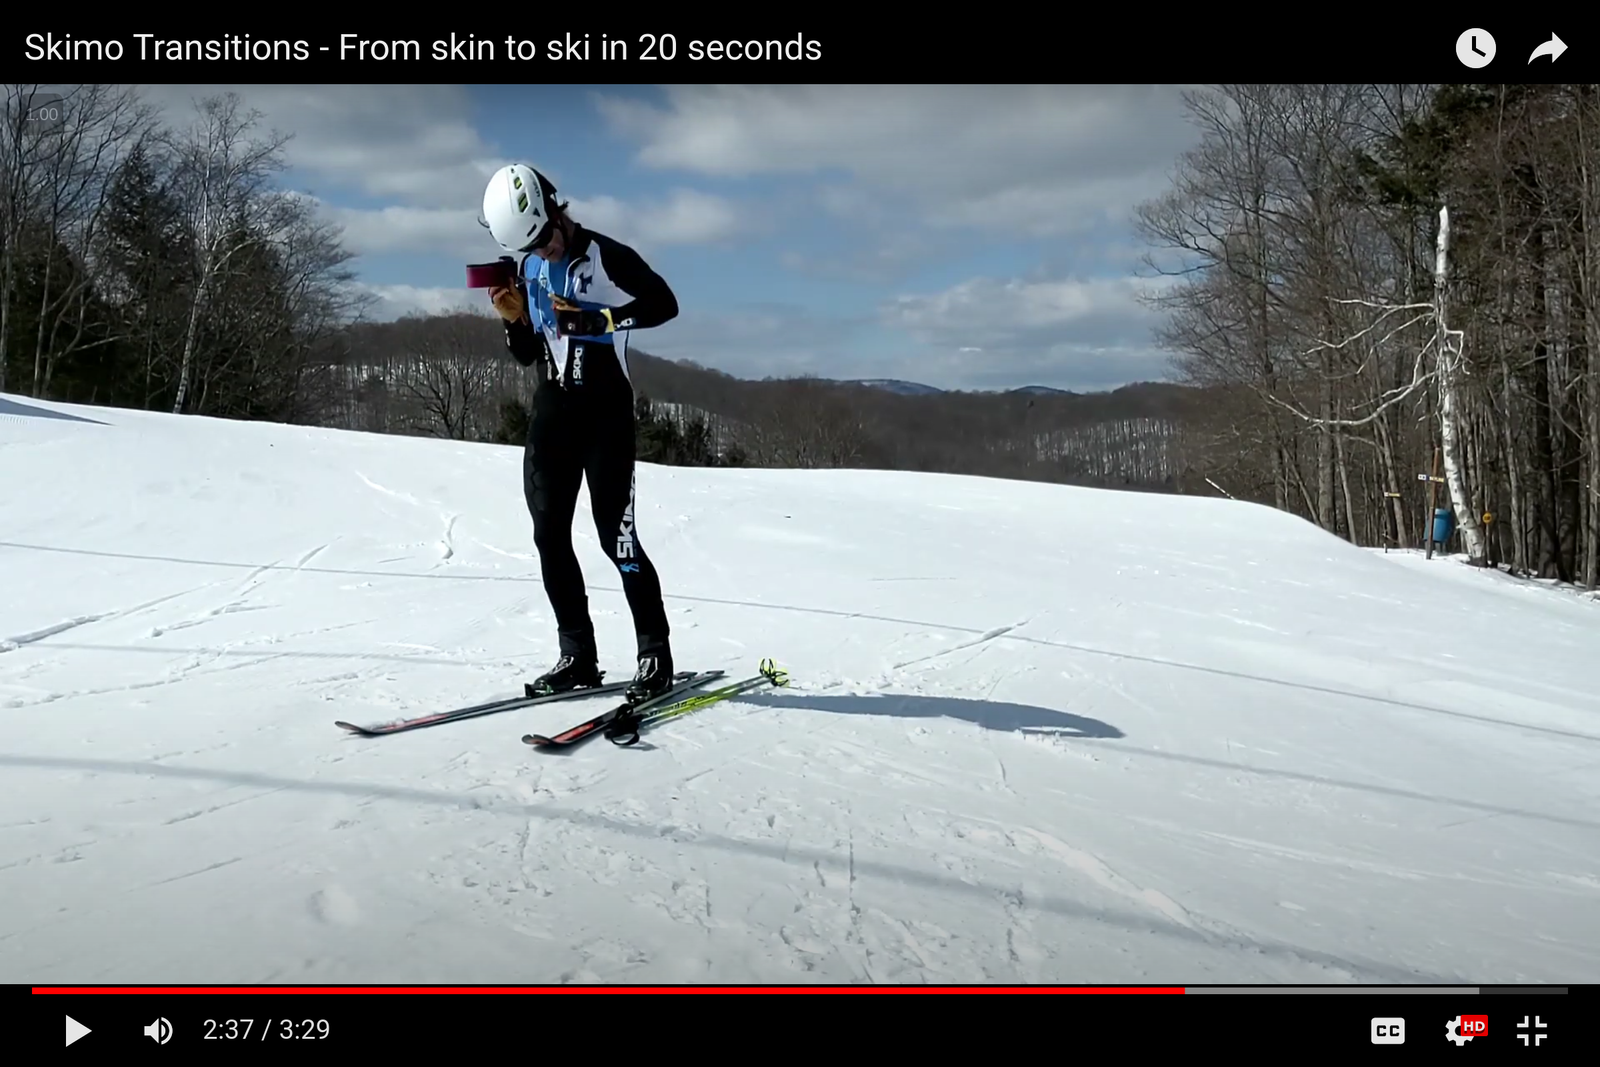
Enter the transition zone
Entering a transition zone is similar for every type. Review the entrance process as part of practicing each transition type.
#
Deal with your boots and bindings
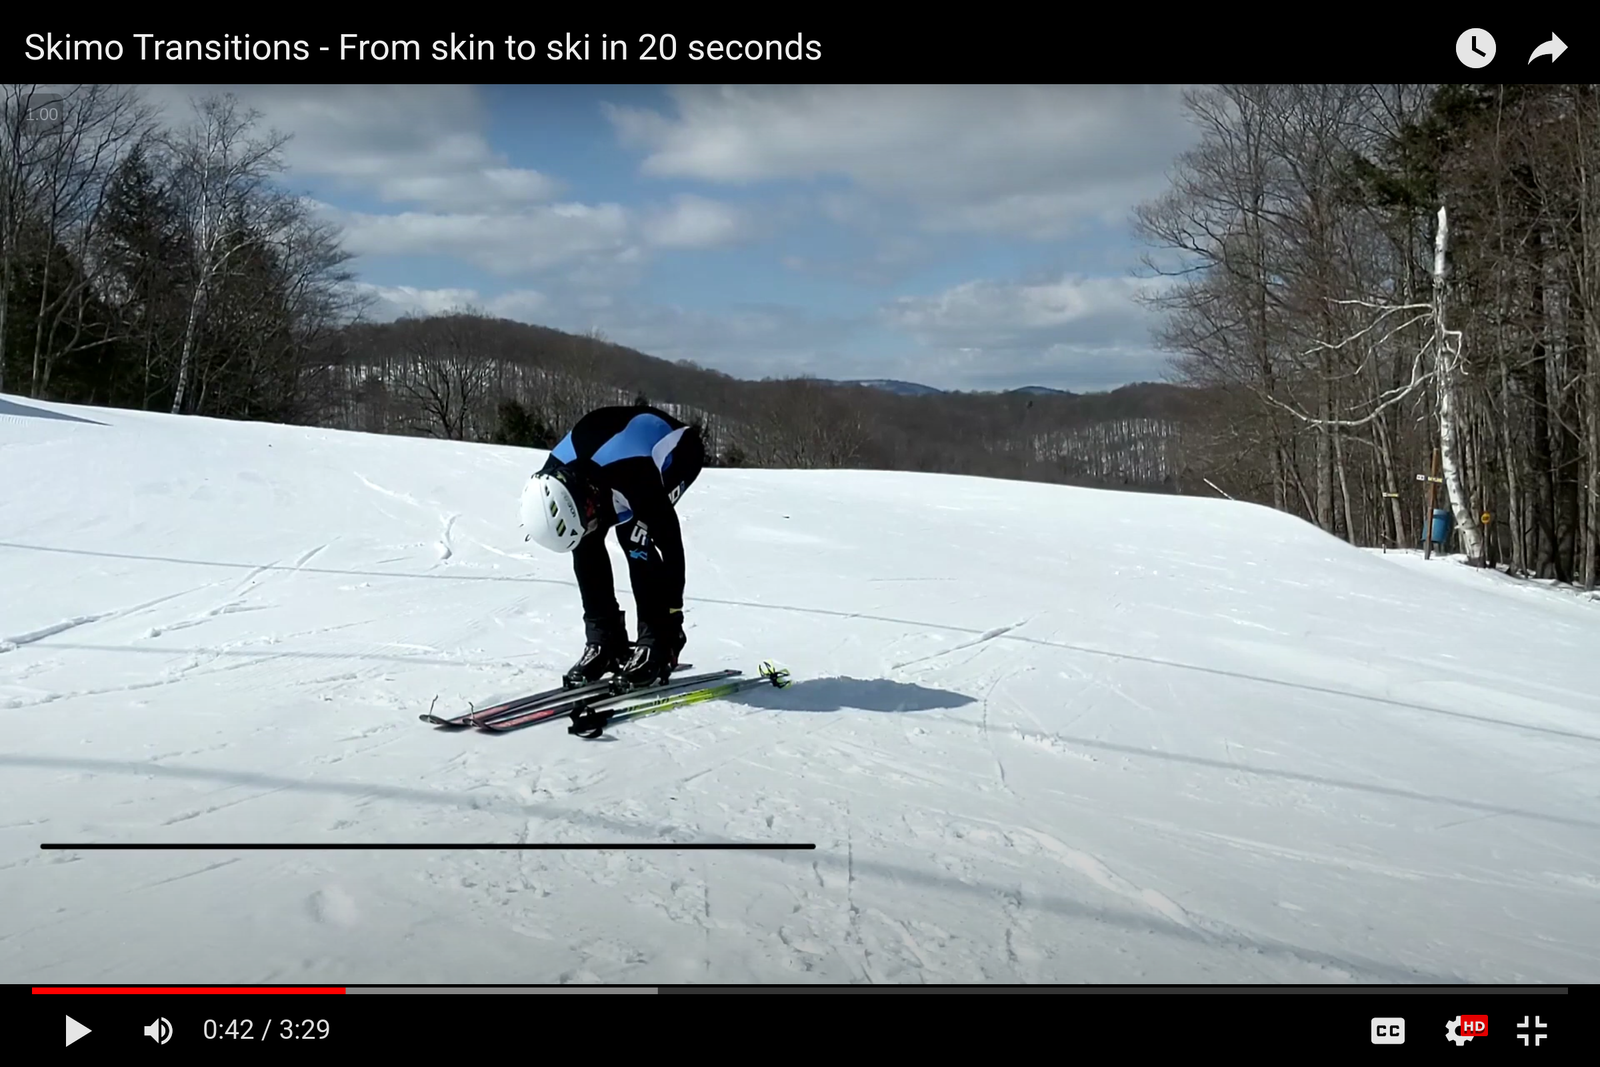
After placing your poles on the ground, move your hands straight to your boot levers. Lock them into downhill mode.
Do not stand up.
When your boots lock, your hands will be close to your bindings. Take advantage of their proximity. Reach back to open the heel piece of the left-hand binding. At the same time, extend your right arm for balance.
But don't try and open both bindings at once. That makes you crouch on two tip-toes which is unstable. Falling over wastes time.
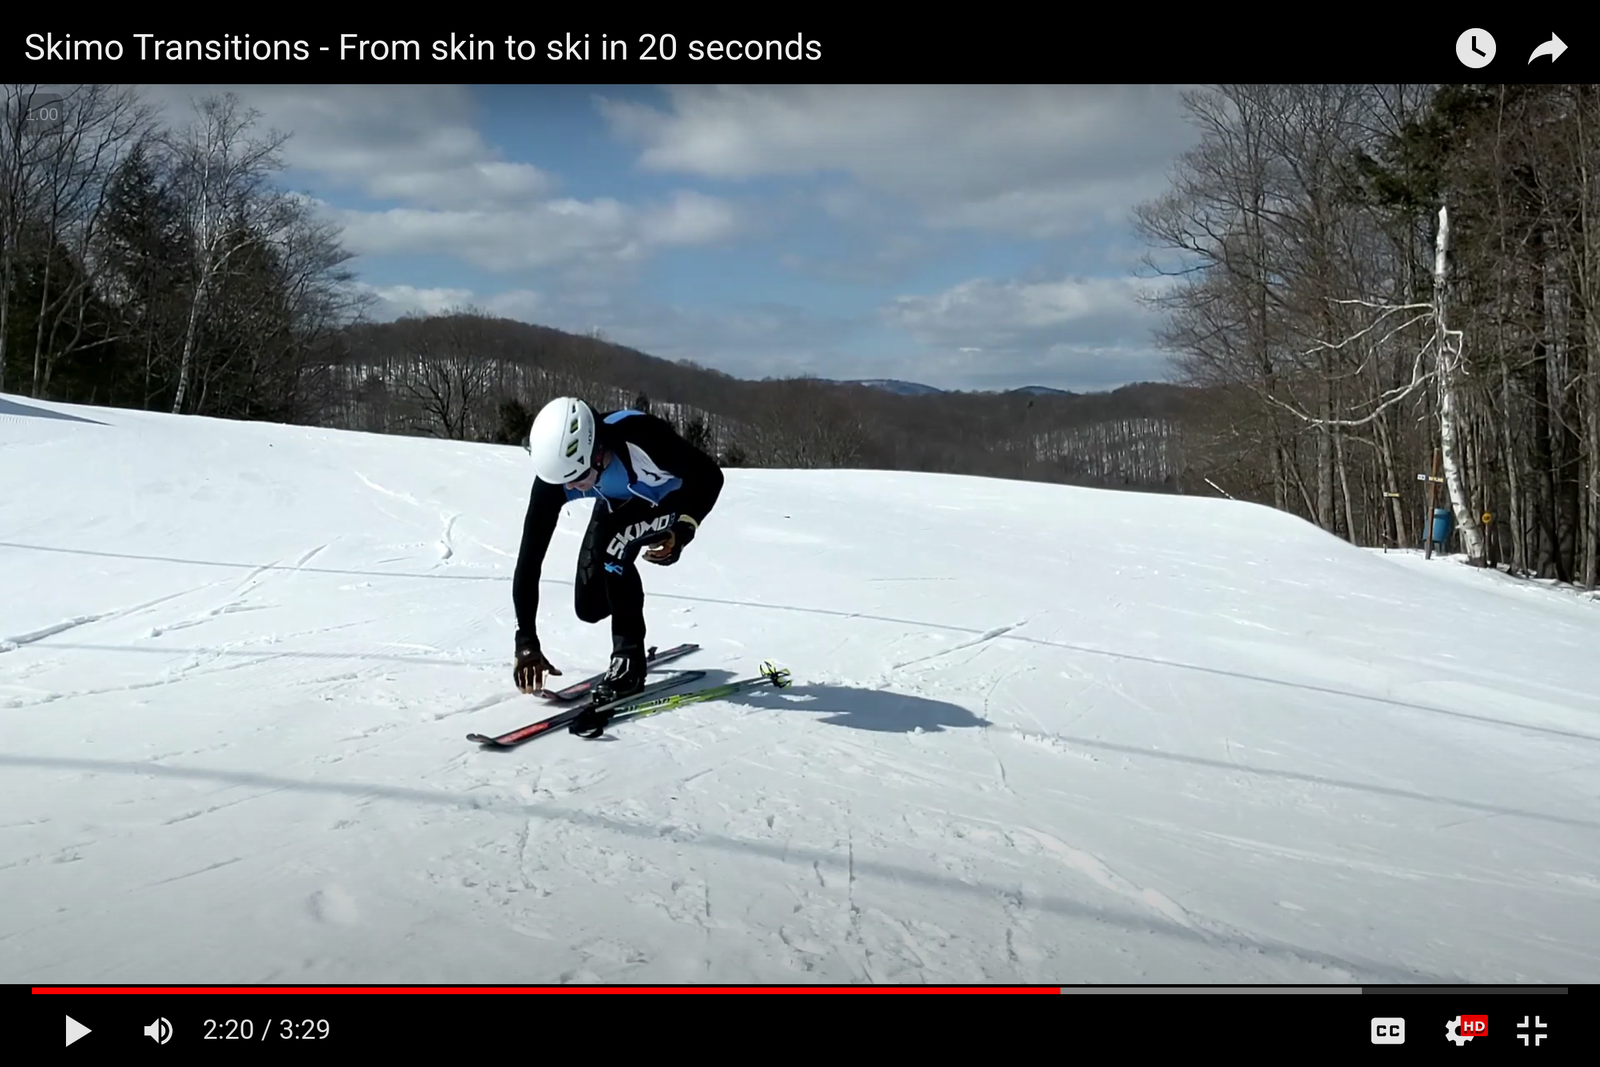
Pull the left ski back toward you to grab the skin tip. As you grab the skin tip, unlock the heel piece of the right-hand binding.
#
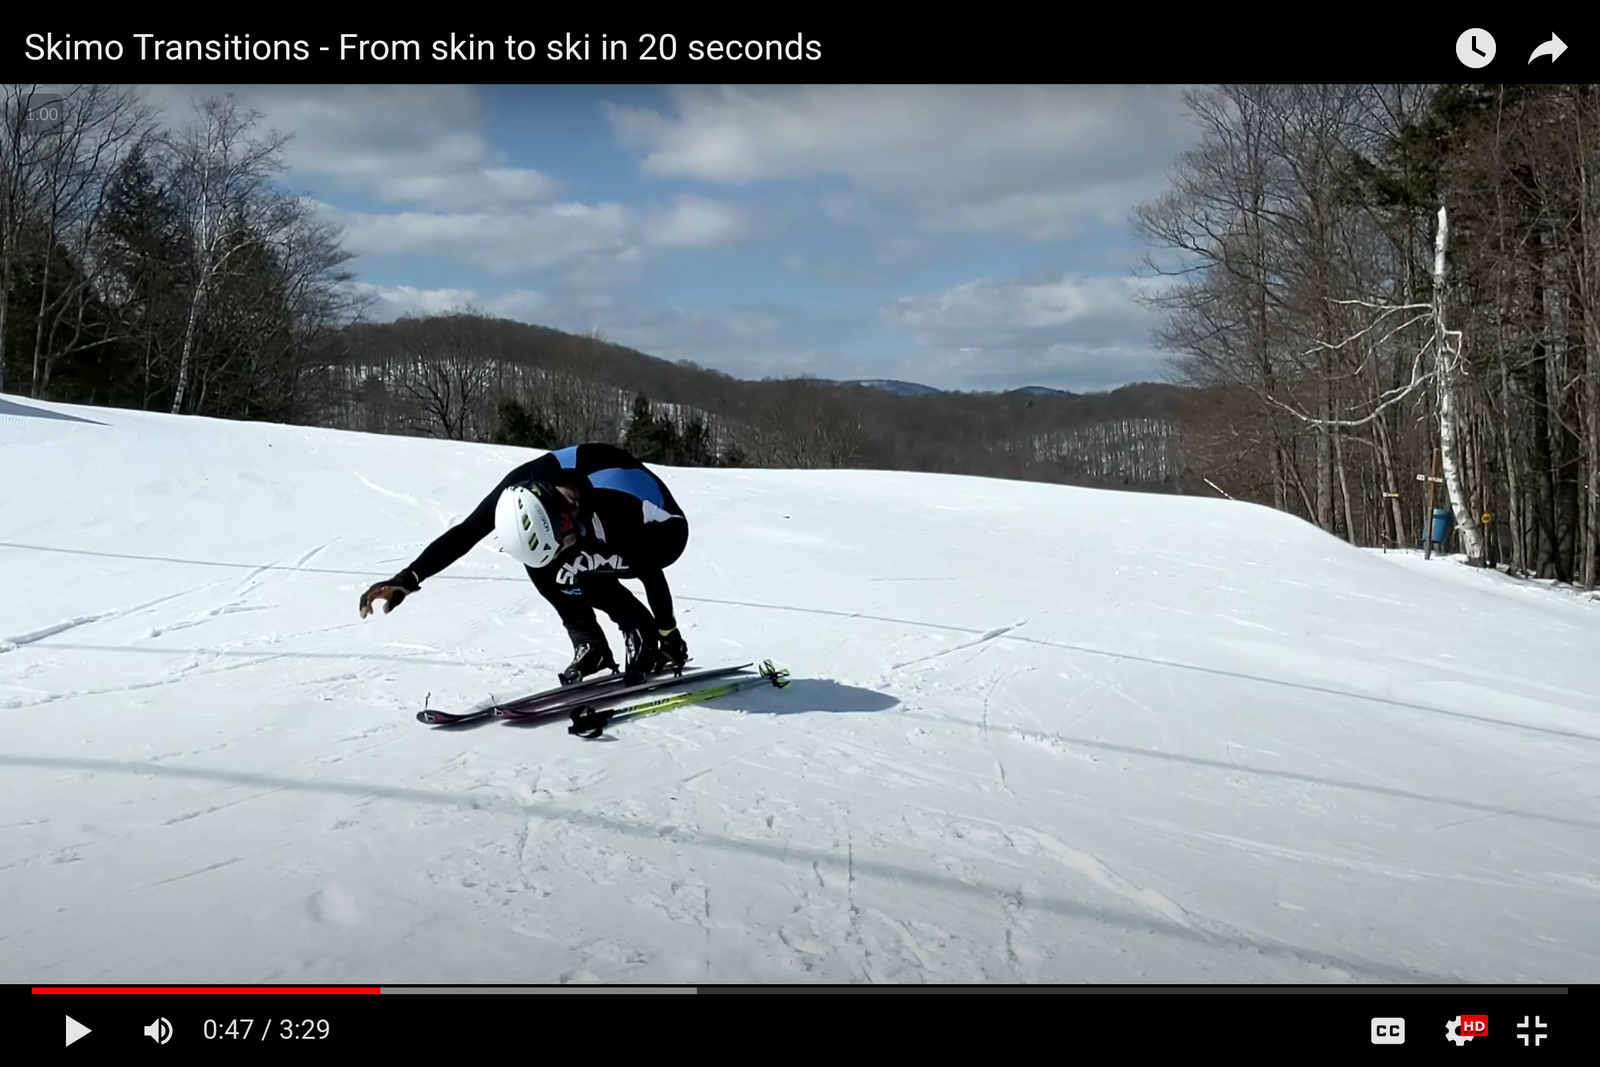
Rip the first skin
As you stand up on your right leg, slide the left ski forward as your left arm pulls backward. Sliding the ski forward will help remove the whole skin without having the tail stick and get caught under the ski.
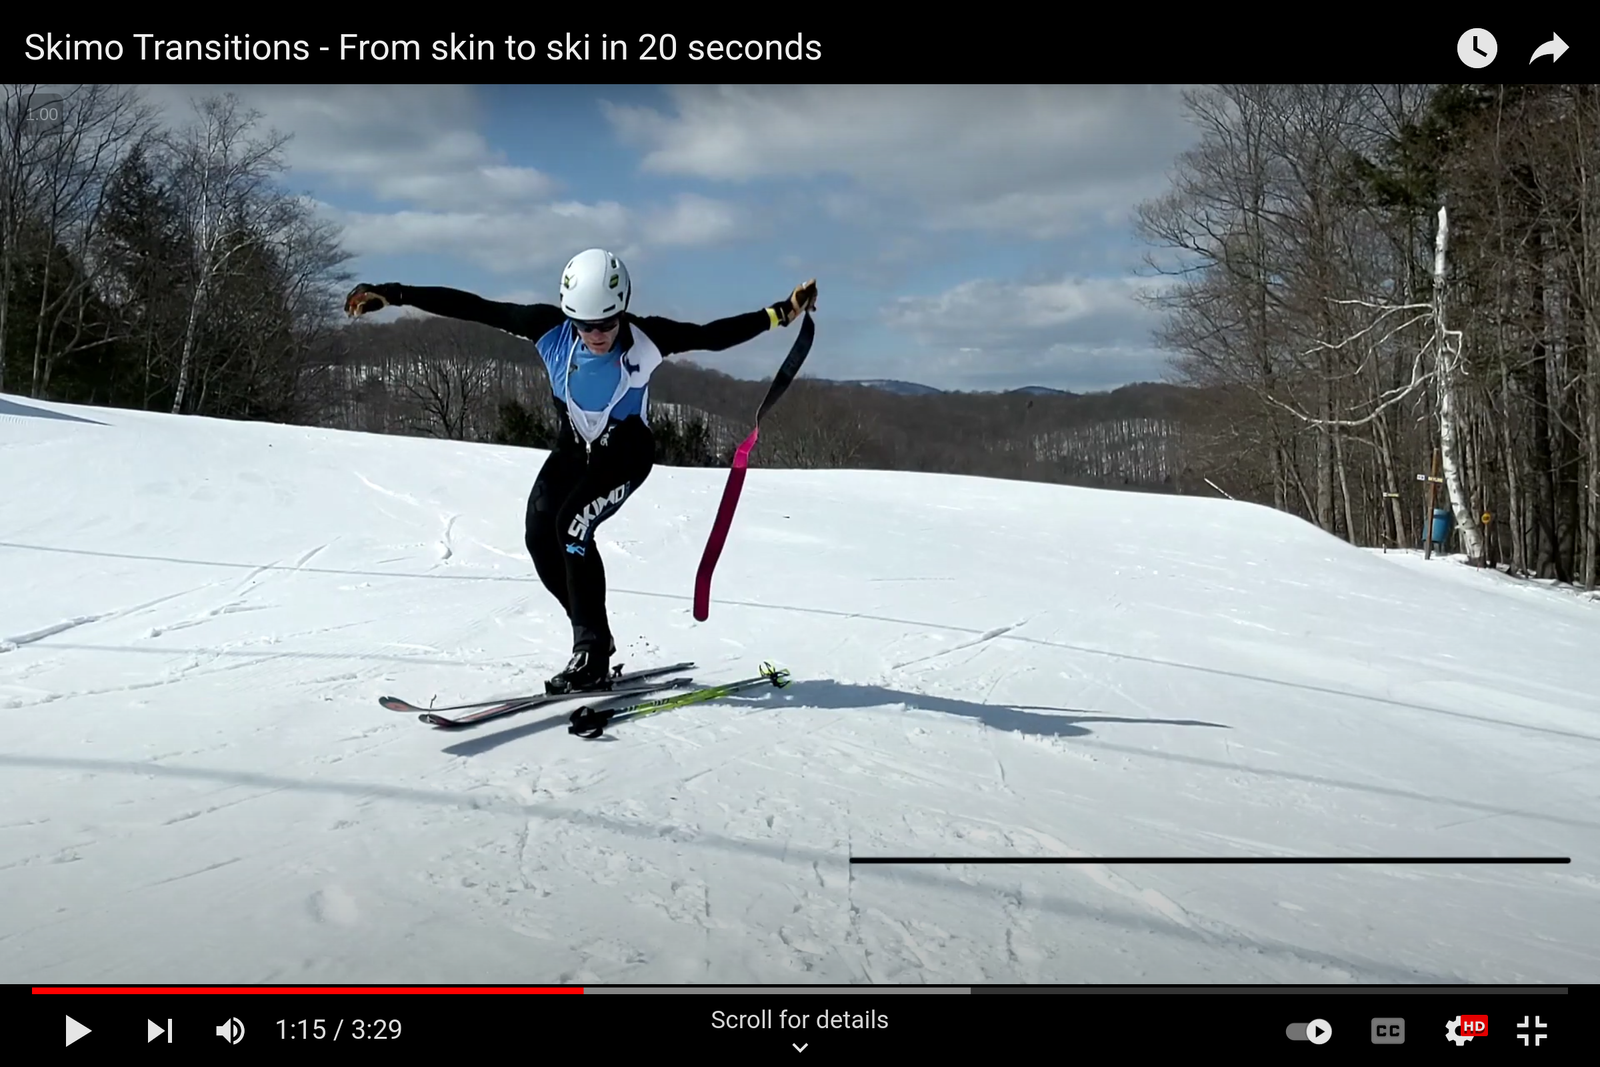
As the skin comes free and the left ski goes forward, stomp your foot into the binding.

Stay on your right toe so that the right-hand binding doesn't lock prematurely. If it does, it'll make ripping the right skin more awkward. Keep your heel raised until you rip the right-hand skin.
#
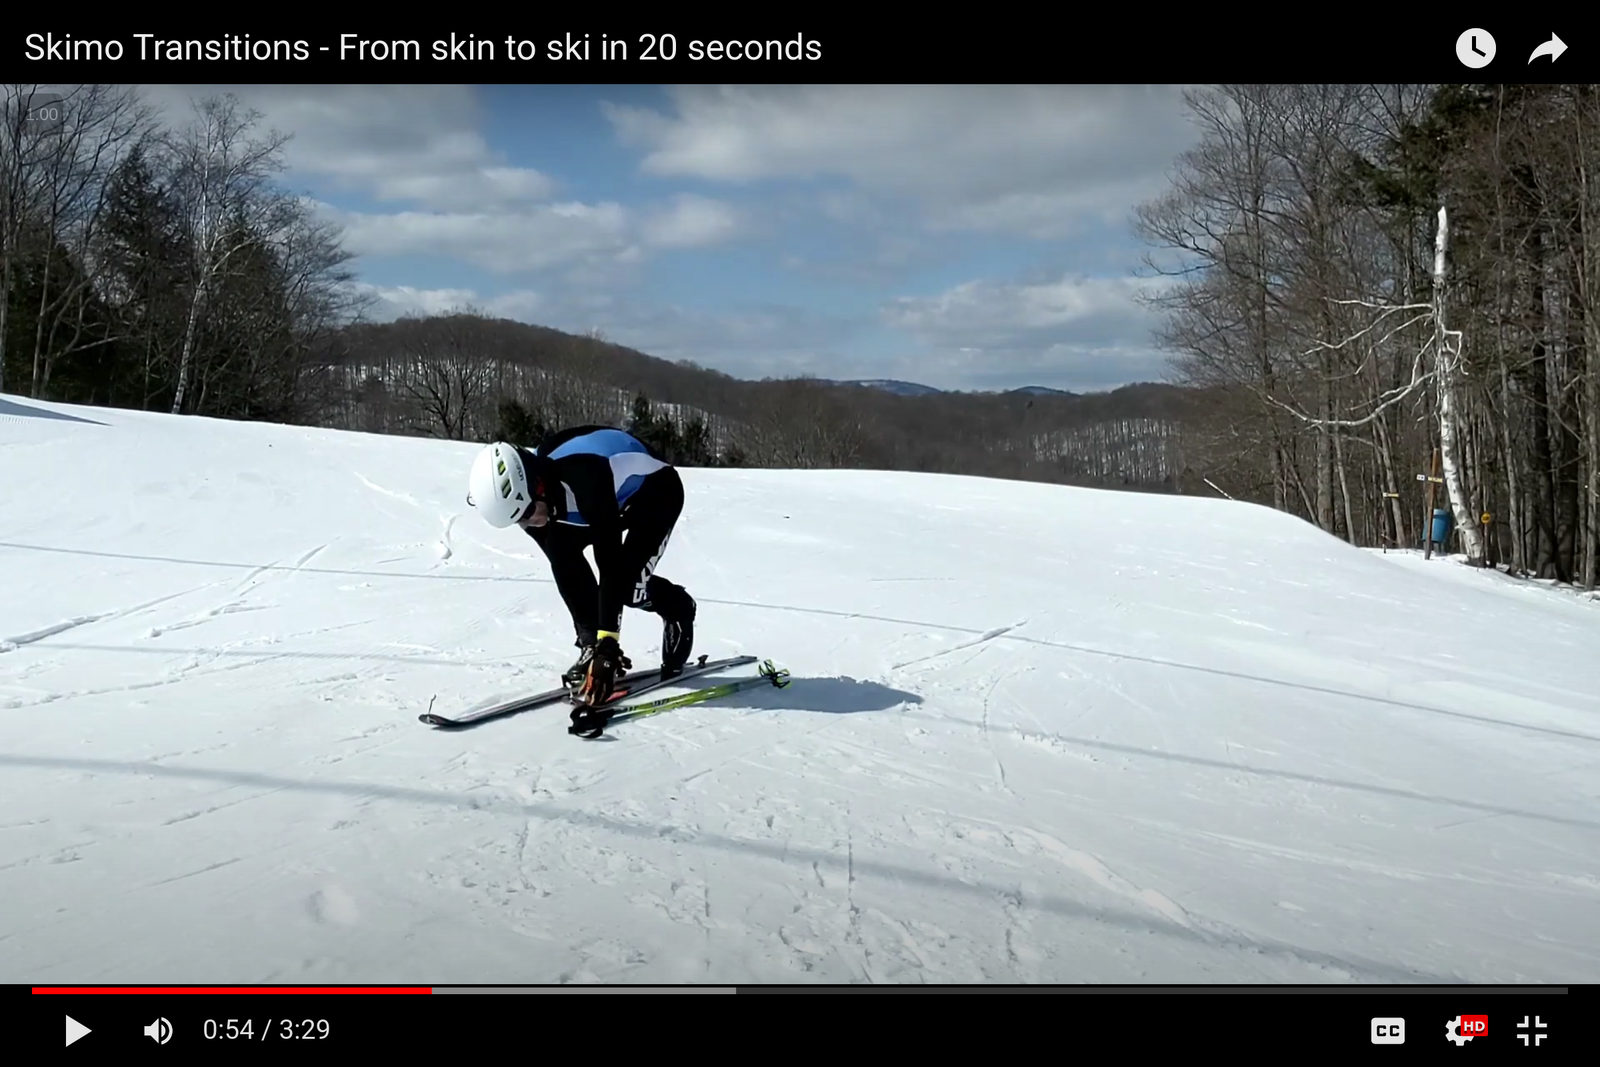
Fold the first skin
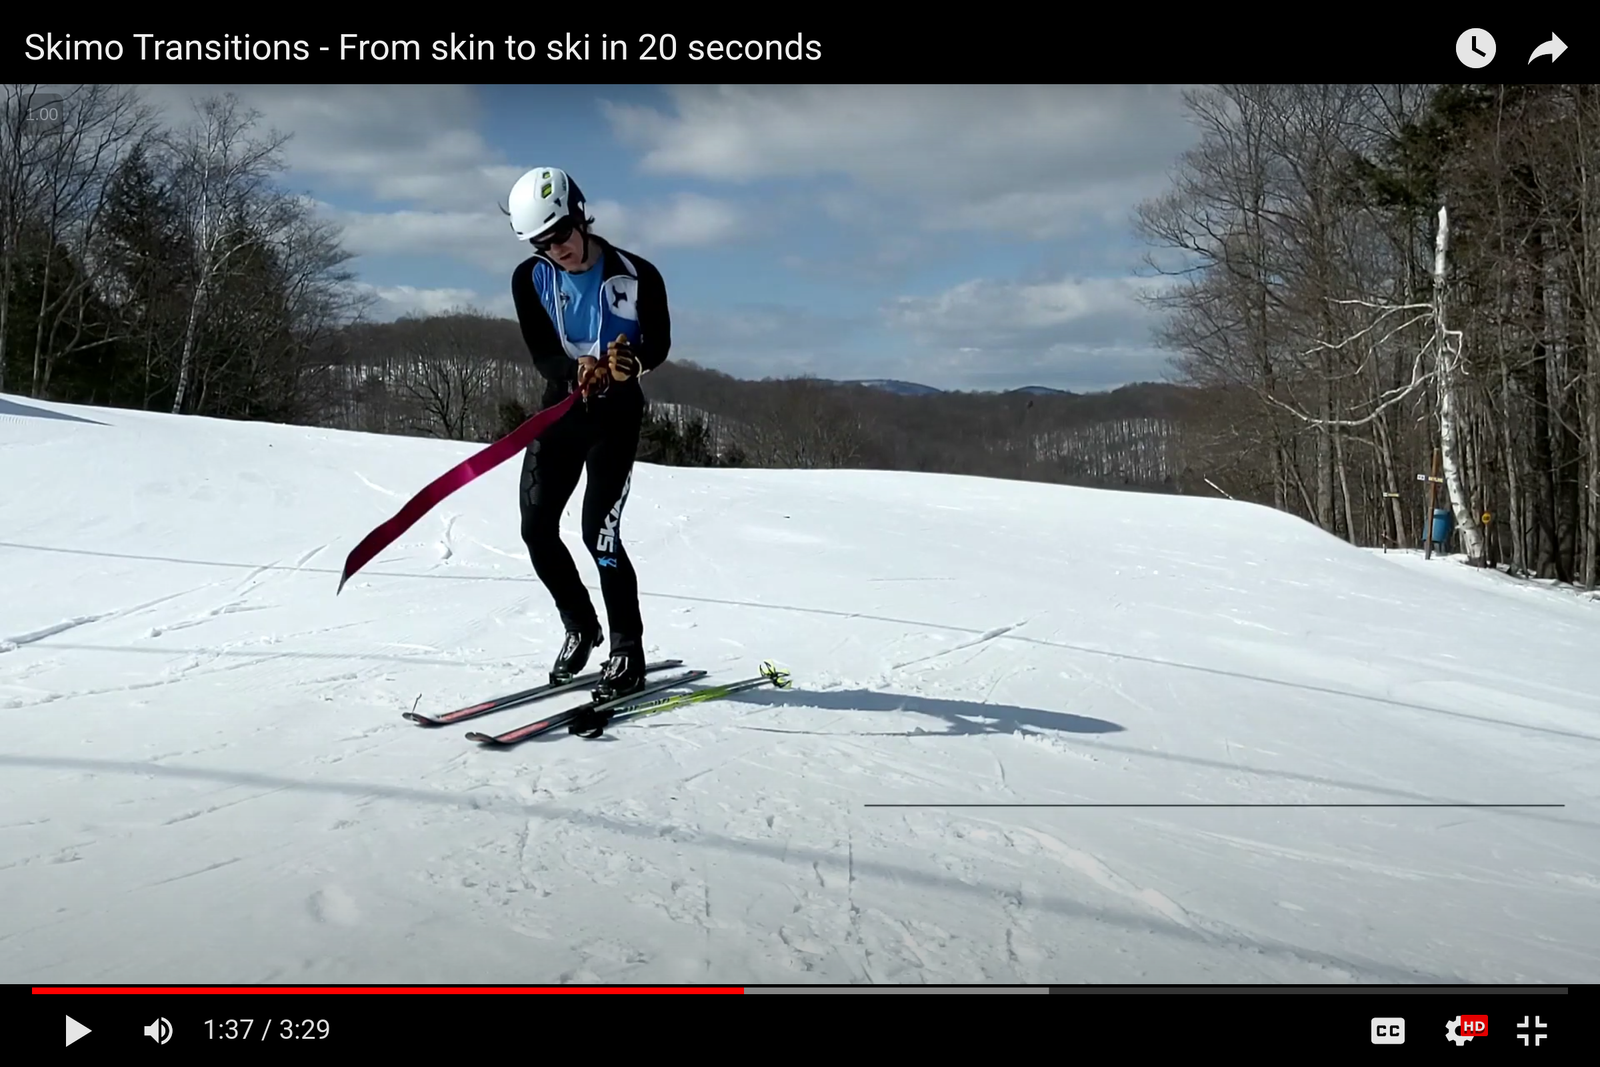
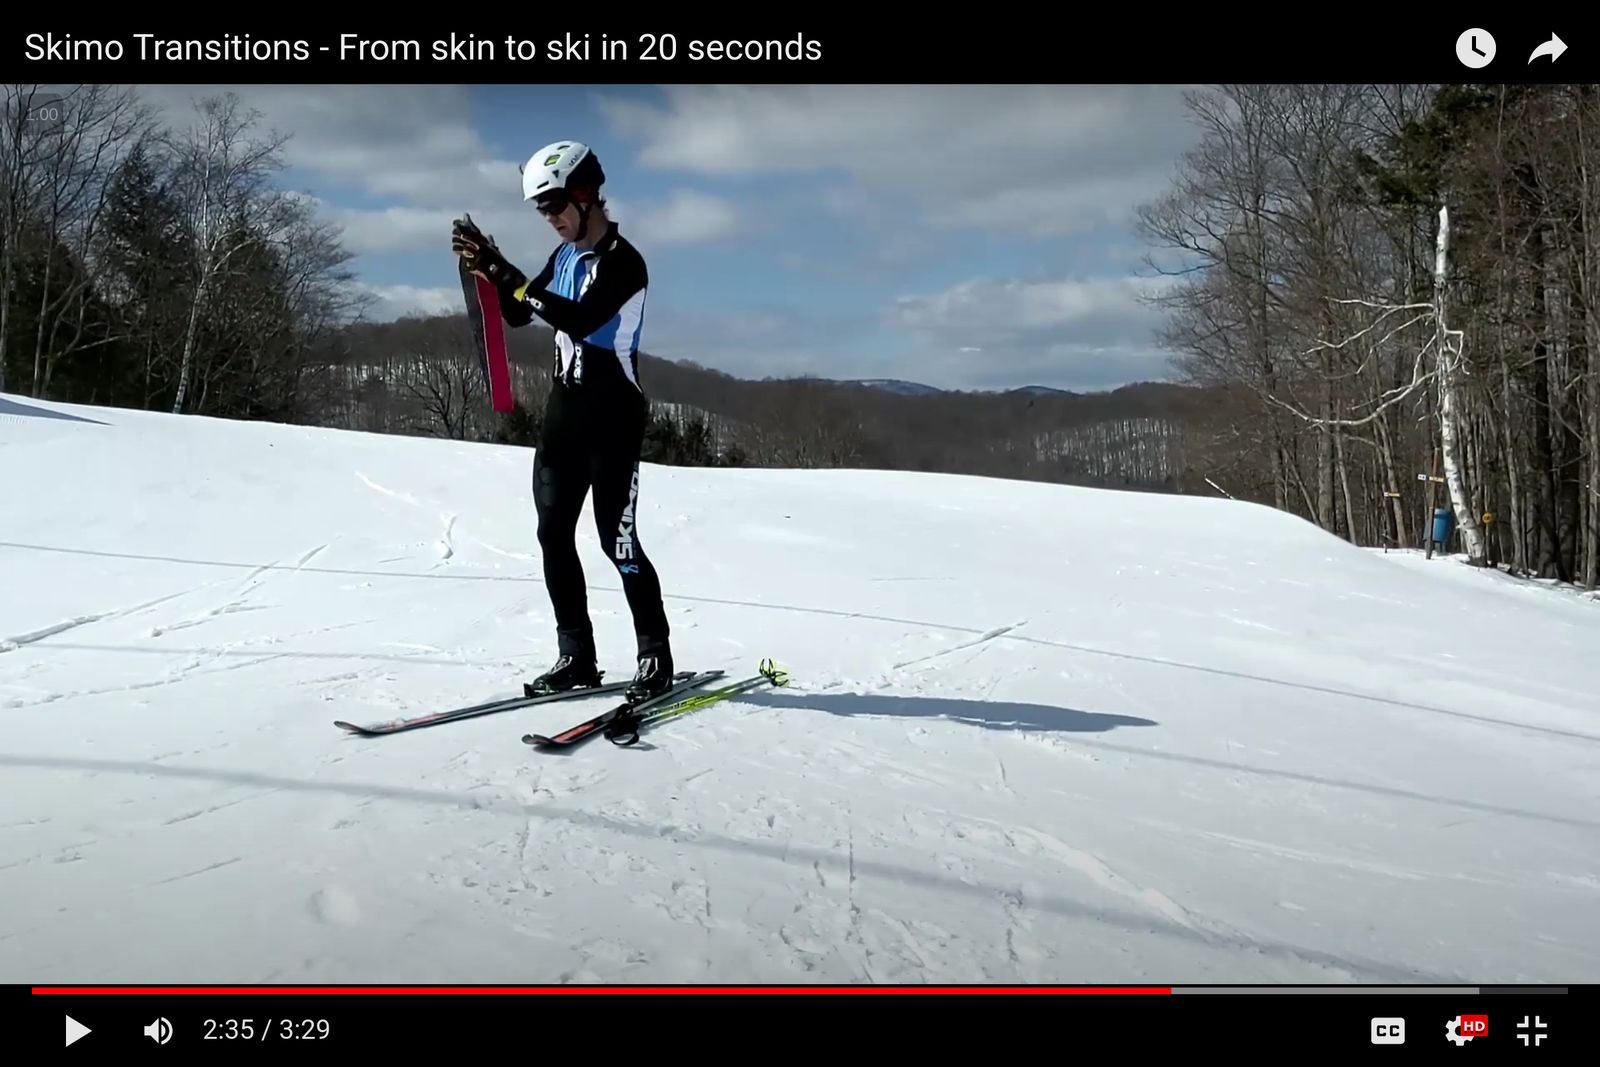
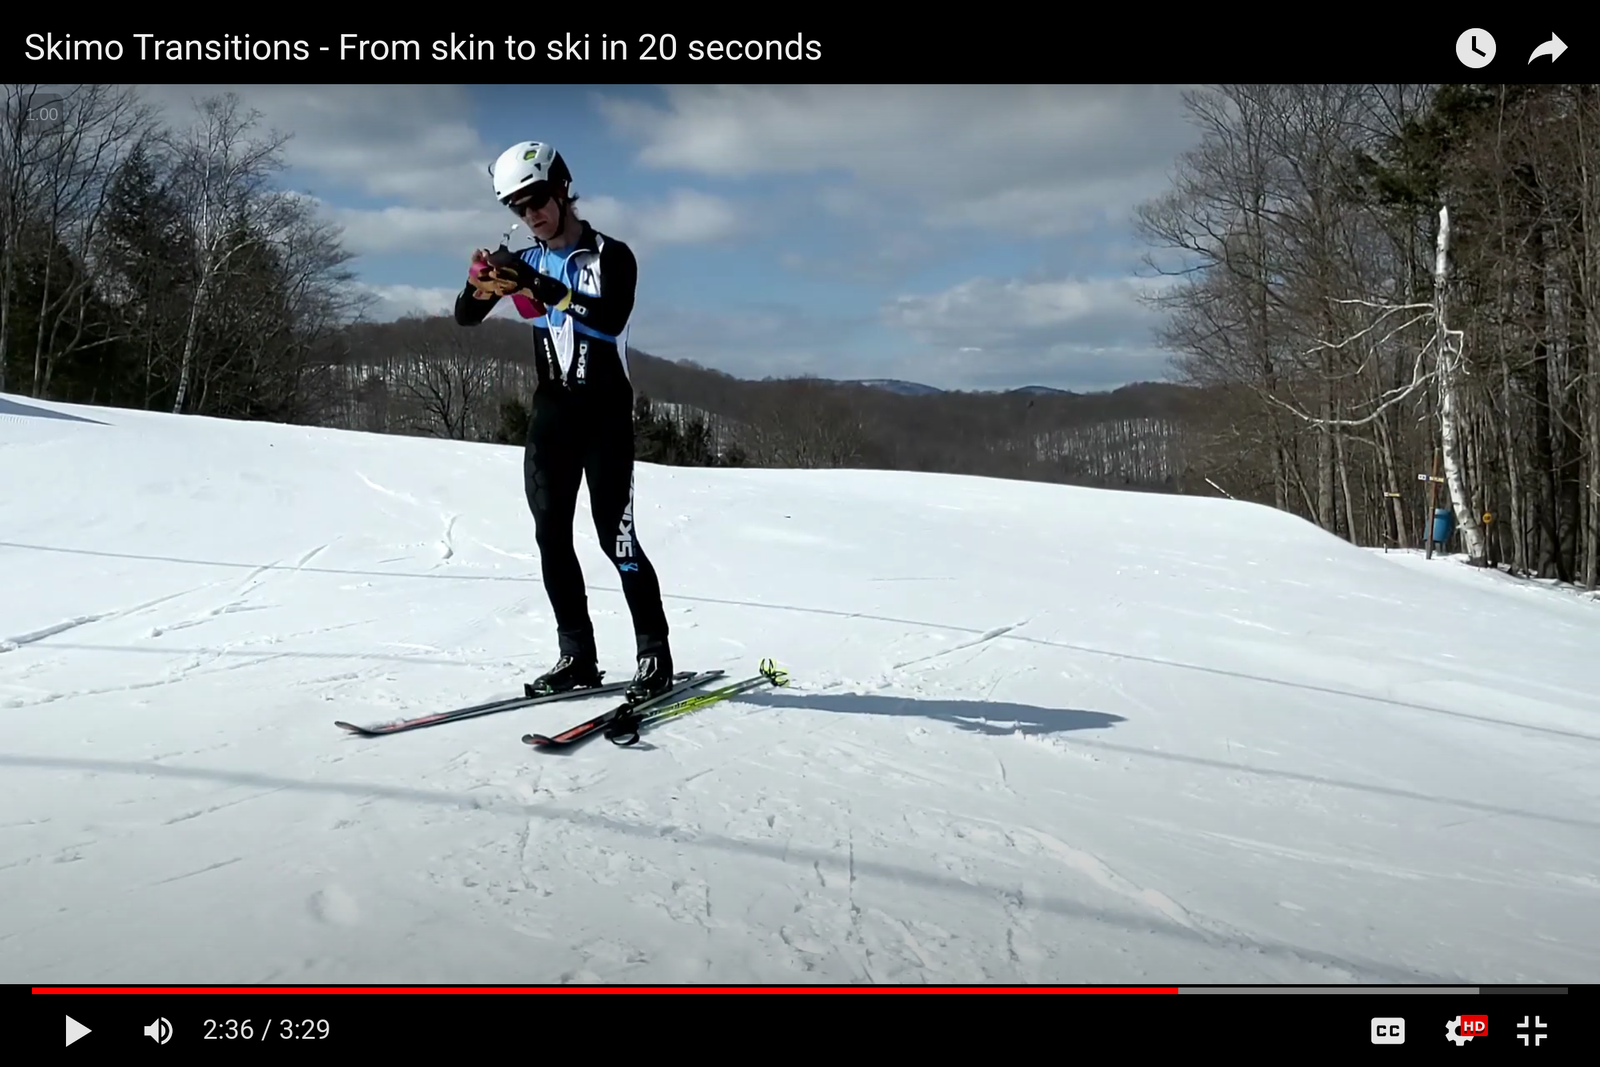
While holding the skin tip with your left-hand, slide your right hand along the back of the skin until you can grab the tail. Extend your index finger along the back of the skin as you guide the tail toward the tip.
Press the tip and tail together, but make sure the tail overhangs the tip by a couple of inches. The overhanging tail has two purposes:
- It's easier to grab the exposed tail and separate the glue at the next transition; and
- The overhanging tail can thaw next to your torso. (See step #[two below this one])

Fold the skin neatly. Keep your skins organized to save time when you need to re-use them. Do not ball them up. Untangling skins costs more time than folding them.
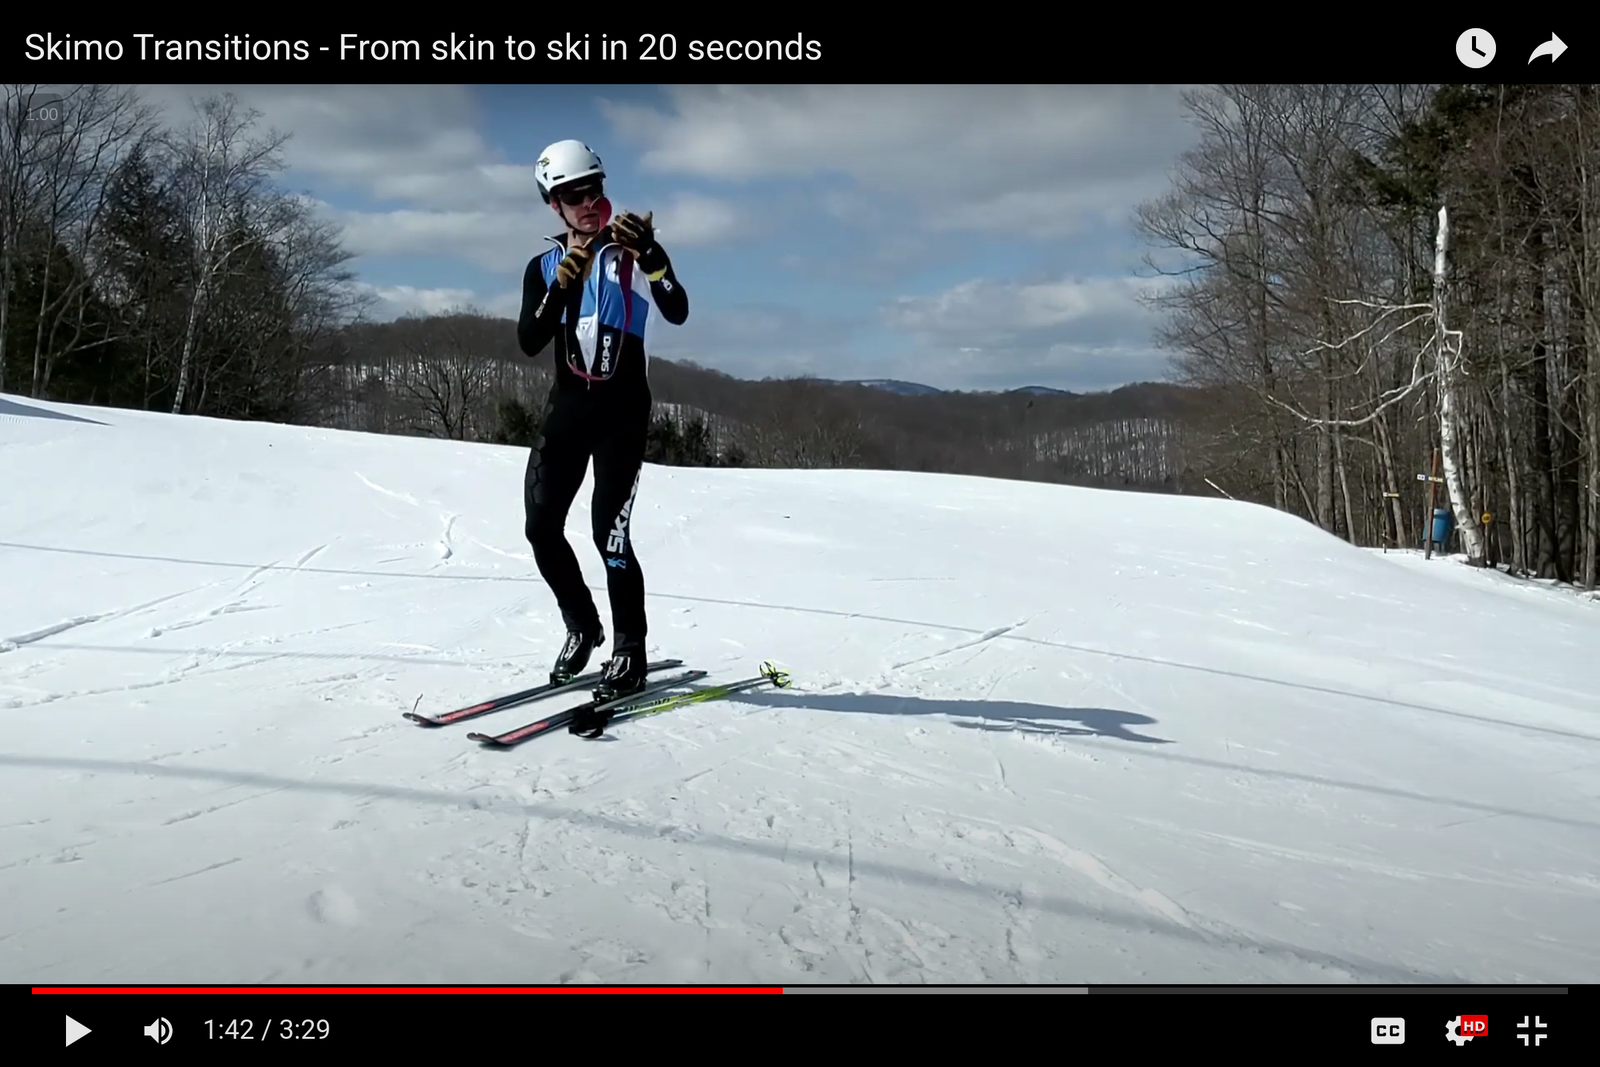
With the skin folded once and grasped in the middle, the skin will fold a second time as it goes into the skin pocket. Position the skin so that the overhanging tail is against your torso. That way your body heat will melt any snow or ice on the tail and your base layer will absorb the moisture. With the next application, there's a much better chance of good adhesion.
Do not put skins in your pack. Taking your pack off is a total waste of time, and your skins won't thaw. Wasted time and icy skins ruin races.
A neatly double-folded skin will leave enough room for a second. That way you can alternate pairs of skins and skin pockets from right to left with each transition.
Here you may be wondering: What about the toe piece? 🤔
When skinning, the toe pieces on your bindings should be locked. On a typical tech binding, this means that the lever in front of your toe is pulled up one or two clicks.
When skiing, the toe piece should be unlocked (lever down) so that the bindings will release in a crash. If the toe is locked, the binding won't release.
But most skimo racers leave their toes locked throughout a race... Why?
Again, it comes back to time. Unlocking and relocking your toes with each transition slows you down. And (in theory at least) race skis are so short and flexible, there's likely to be less leverage at work tearing your knee apart.
So you decide: It's time or tendons.
#
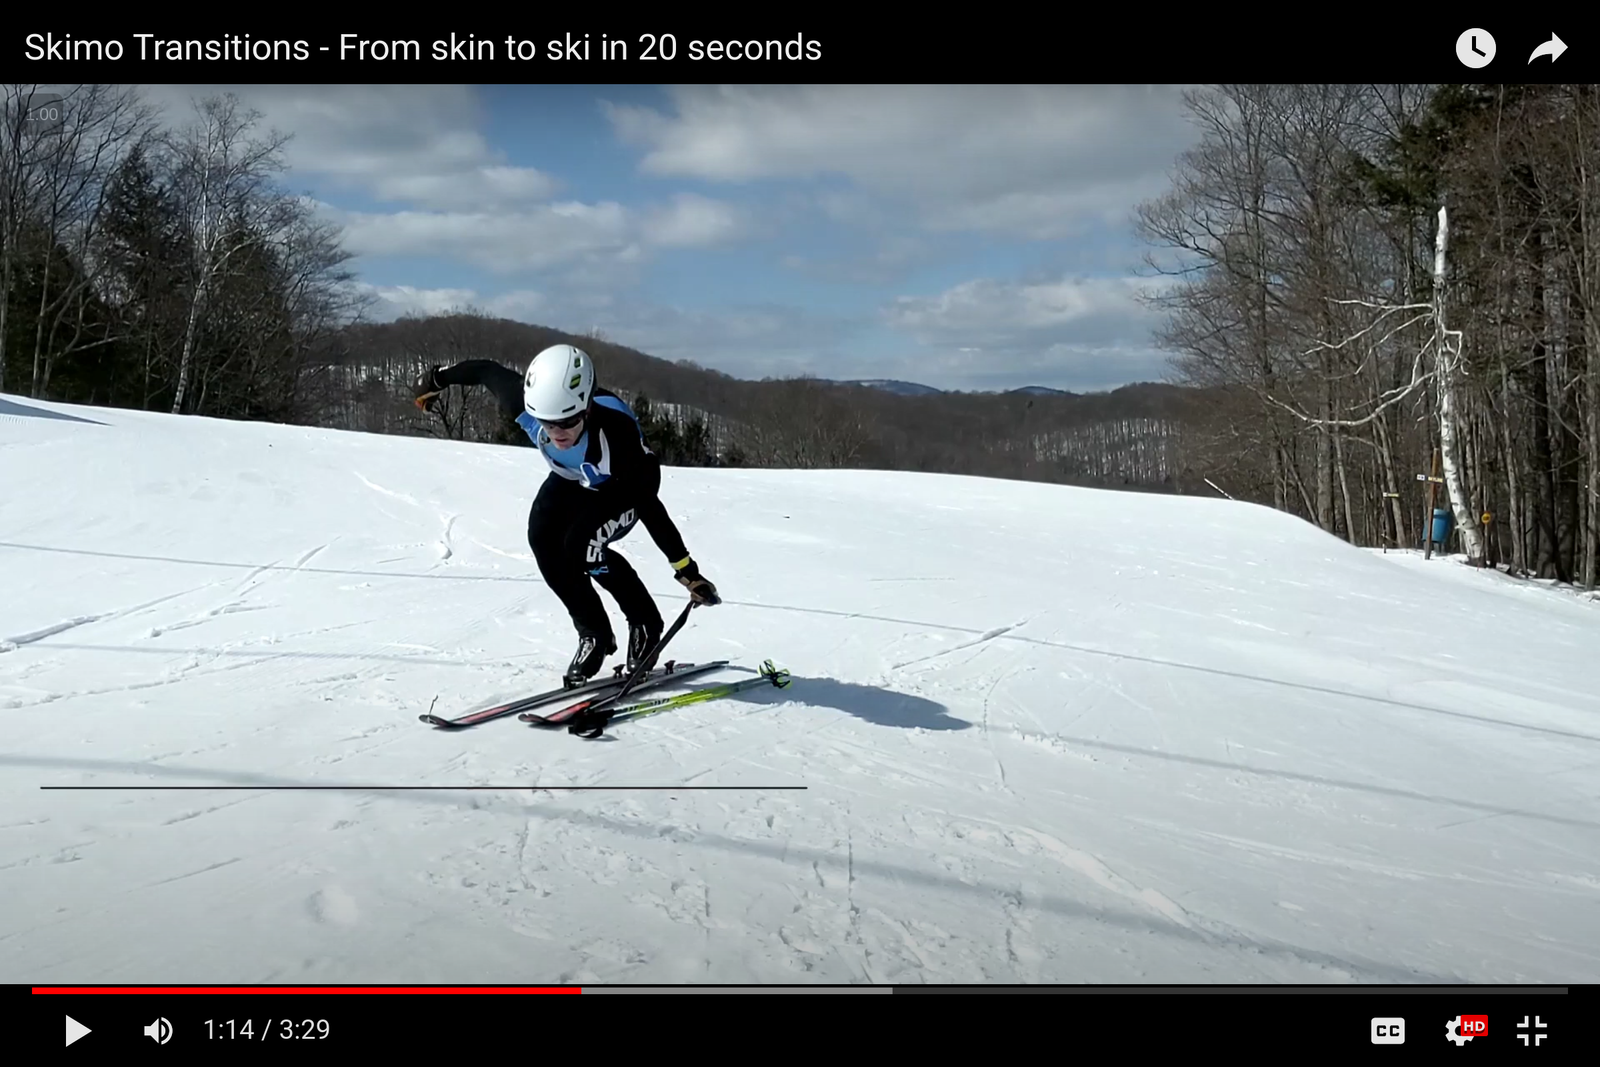
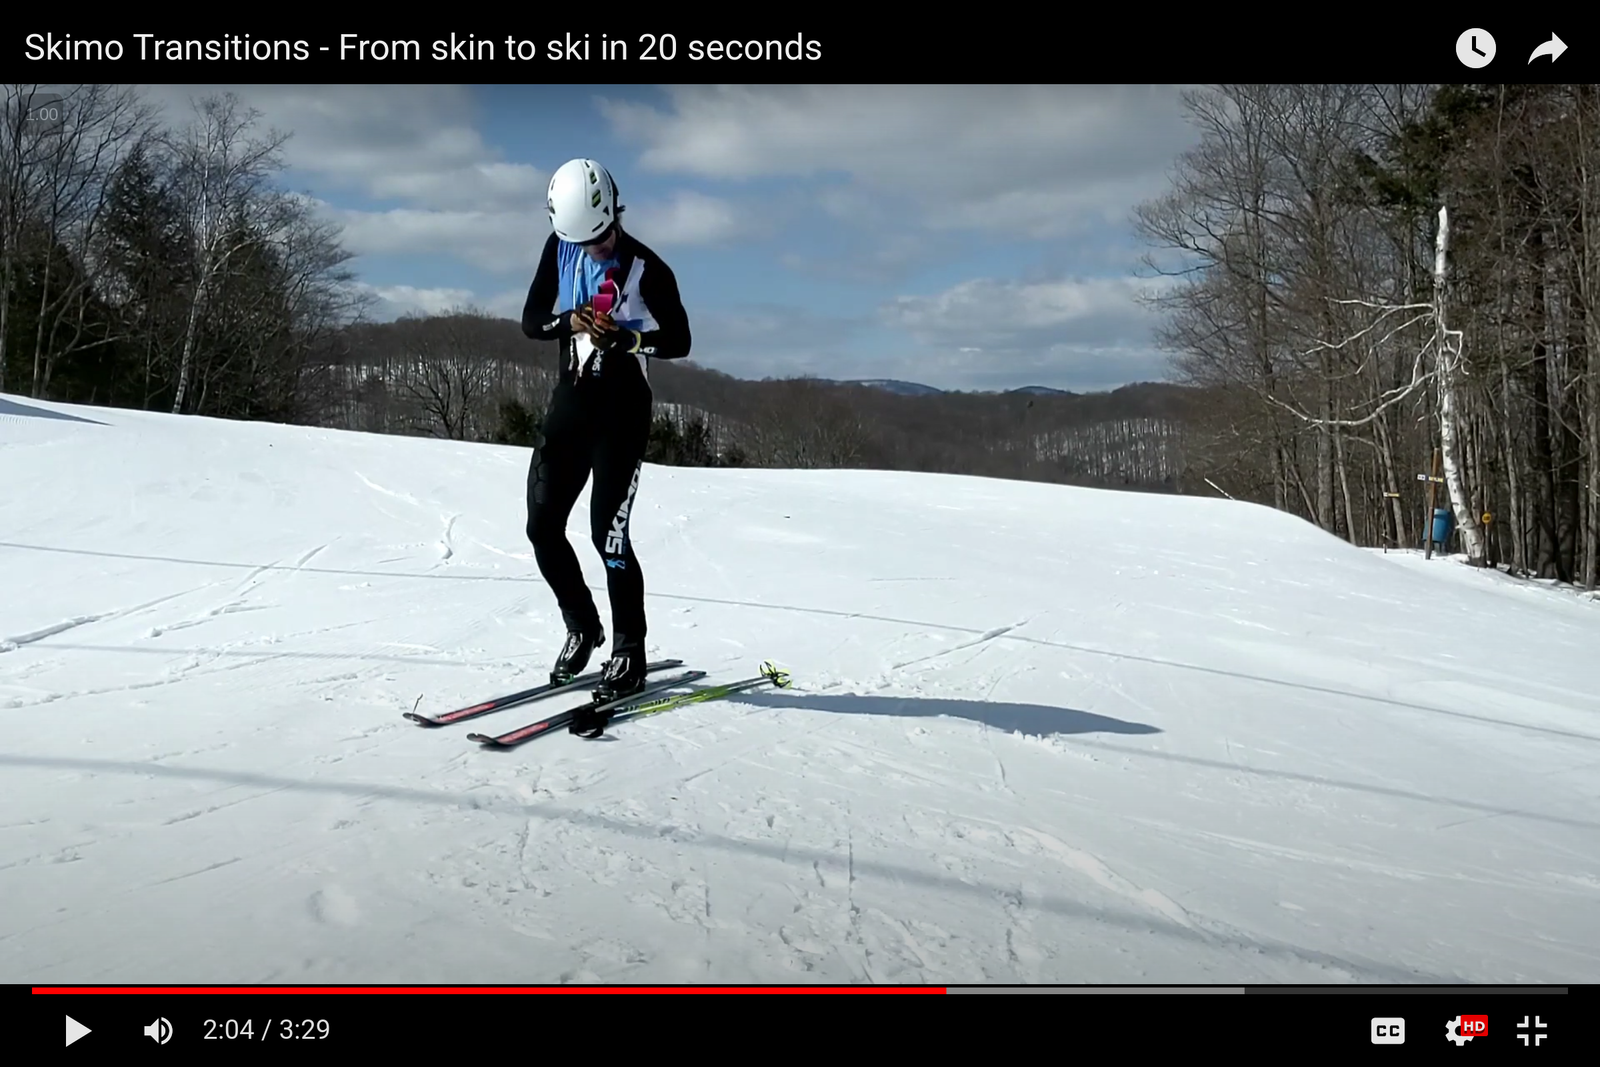
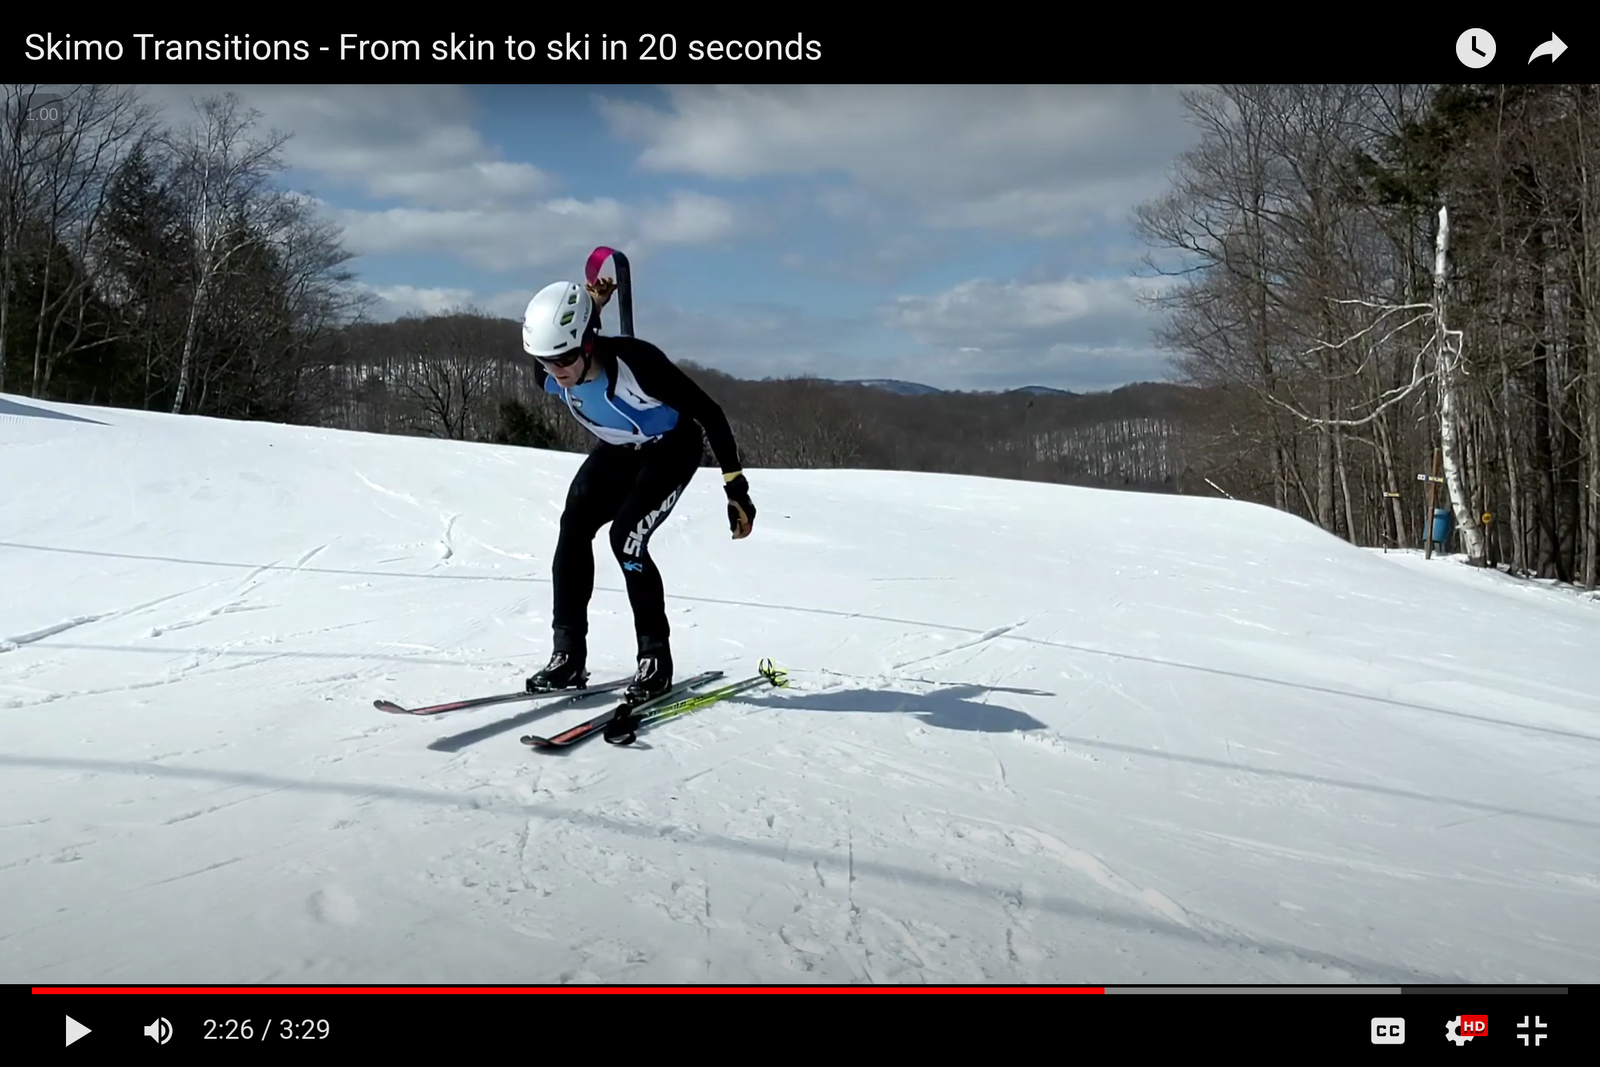
Rip the second skin
Ripping the second skin is the same process as the first. Here's a condensed version of the sequence.
As with the left ski, pull the ski back and squat straight down to grab the skin rather than reaching forward. Squatting straight down is faster, easier, and more balanced.
#
Fold the second skin
Because you stuffed the first skin deep into the skin pocket, there should be ample room for the second skin beside the first.
#
Exit the transition zone
Exiting a transition zone is similar for every type. Review the exit process as part of practicing each transition.